SuperConductor and World Construction Set
1. Decide on how you're going to configure your render farm. The server will have the hardware key attached and run SuperConductor. Due to importance of the server and the possibility of serving interruptions during multi-tasking, it is suggested that the server not render. Client computers will do the rendering.
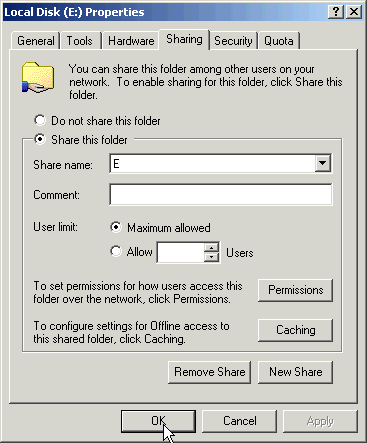
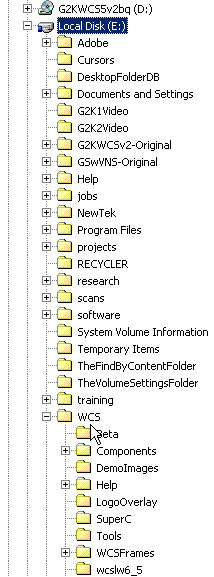
2. For SuperConductor to work, all clients must run WCS from the same files on the server. We'll do this by mapping the server WCS drive as the same drive to all clients, including the server. Start by sharing your server WCS drive.


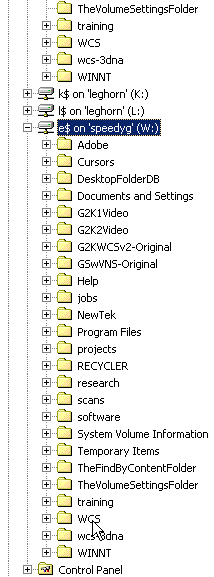
3. Map the shared drive as the same drive letter on the server and clients. I chose the W drive.
4. Launch WCS on the server and open Preferences. Add the following Options to the Config page and Set. Your IP address should match the IP address of the server.
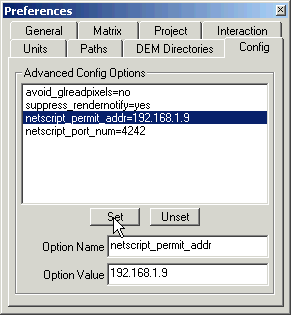
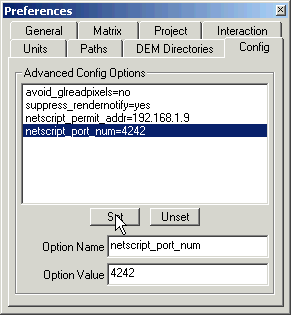
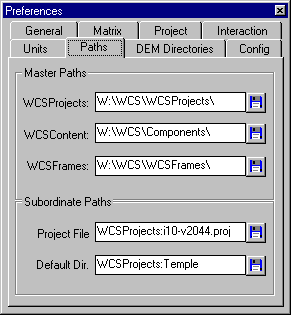
5. While we're about it, let's change the Paths so they point to the new drive we just mapped on the server. In this example, I changed my drive letter to W. These changes will not be saved to the prefs file unless you have a project loaded, so load one, save it, and quit.
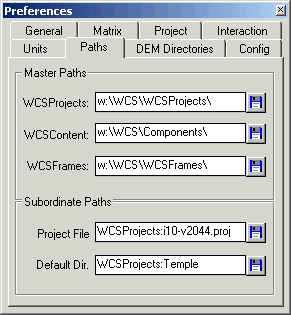
6. Start WCS again and confirm that the values have 'stuck'.
7. On each of the render clients, open the WCS folder on the newly mapped W drive and start WCS. Since we're using the server PREFs file and the client WCS drive is mapped the same as the server, you shouldn't get any paths warnings. The render mesaage should be the only announcement you get.
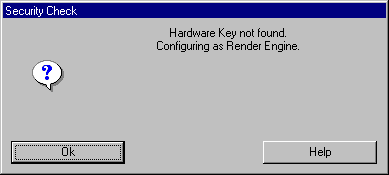
8. Opening the Status Log should confirm what you already know.

9. Just to be sure, check the Preferences settings.

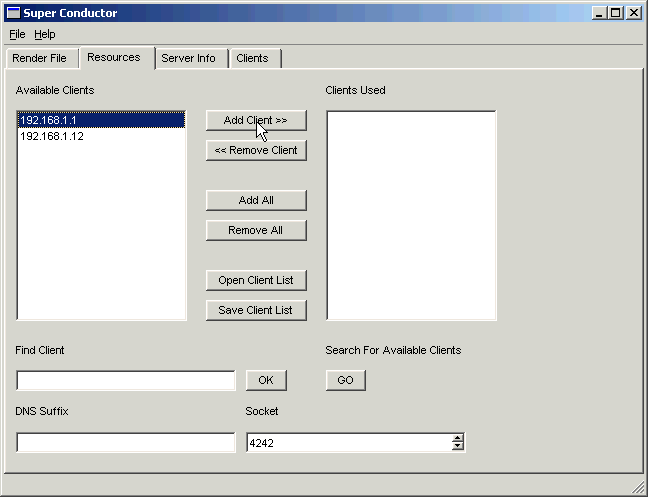
10. Launch SuperConductor on the server. The Resources page is where we add Client network identification. Enter the first client IP address in the Find Client box and click OK. If tere's anything in the DNS Suffix box, delete it. Add the remaining IP addresses.

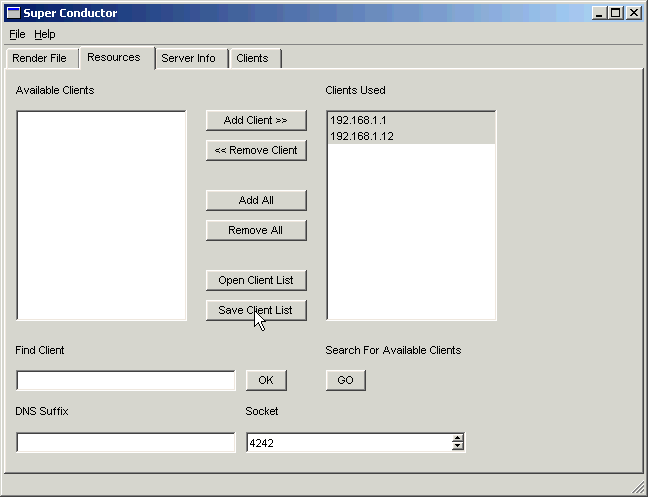
11. You Client IPs will be listed in the Available Clients window. Use the Add Client button to add them to the Clients Used window.
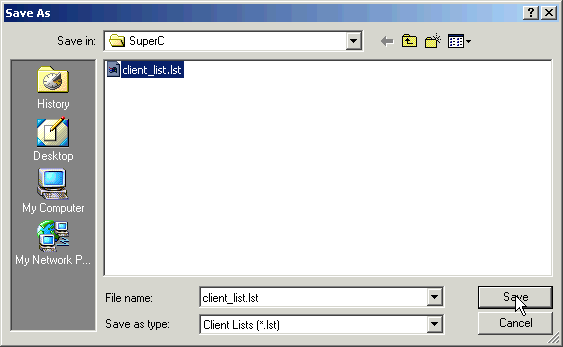
12. This would be a good time to Save Client List so you don't have to enter them again next time.
13. Go to the Render File page and Browse for the project you want to render.
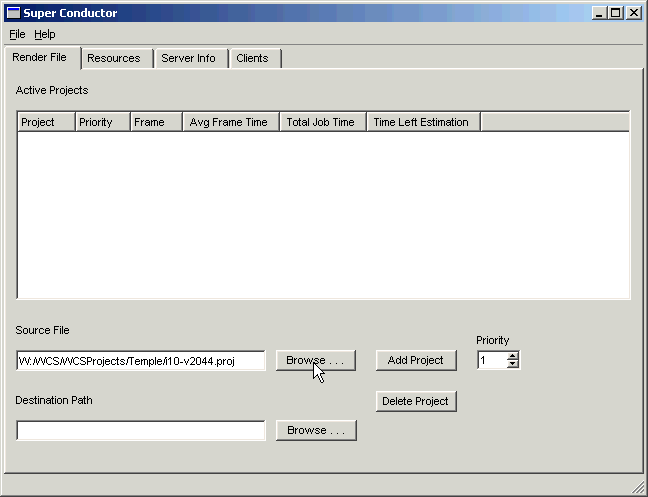
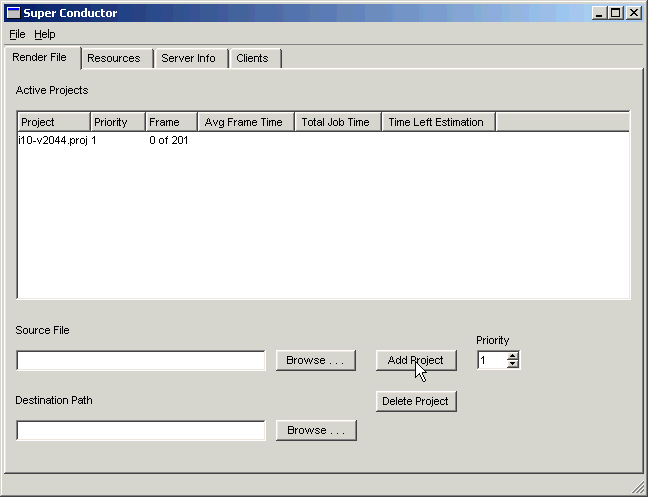
14. Add Project.
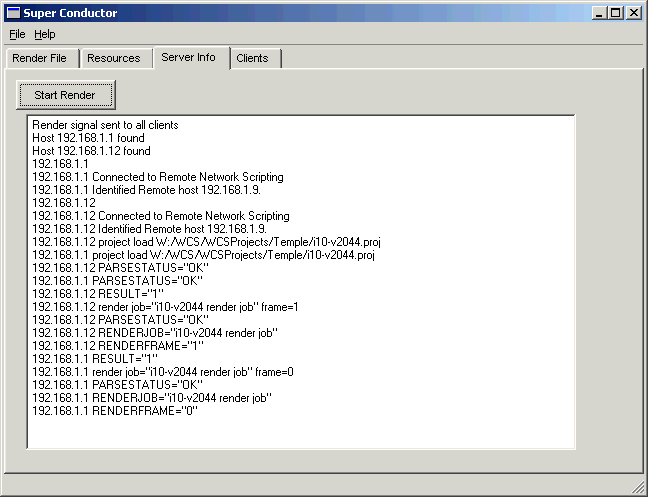
15. Go to the Server Info page and Start Render to start the clients rendering. Messages will confirm that the clients have been found, project loaded, and frame rendering started.
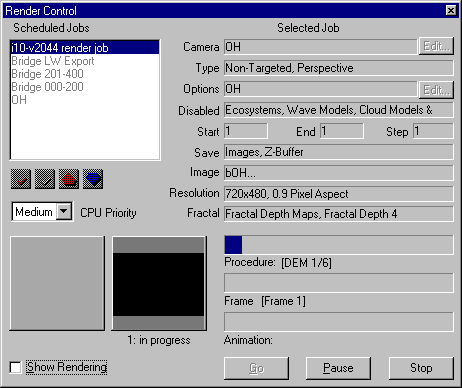
16. Status Logs on the Clients will log rendering in progress and the Render Control window will pop up with its own information and progress.

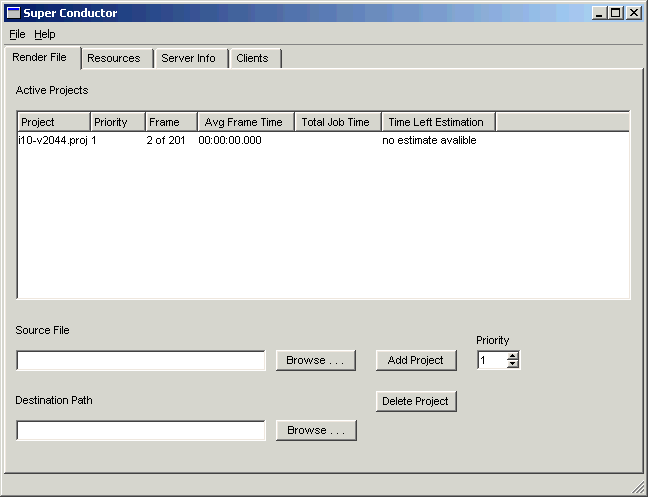
17. The SuperConductor Render File page will show rendering progress for all clients.
